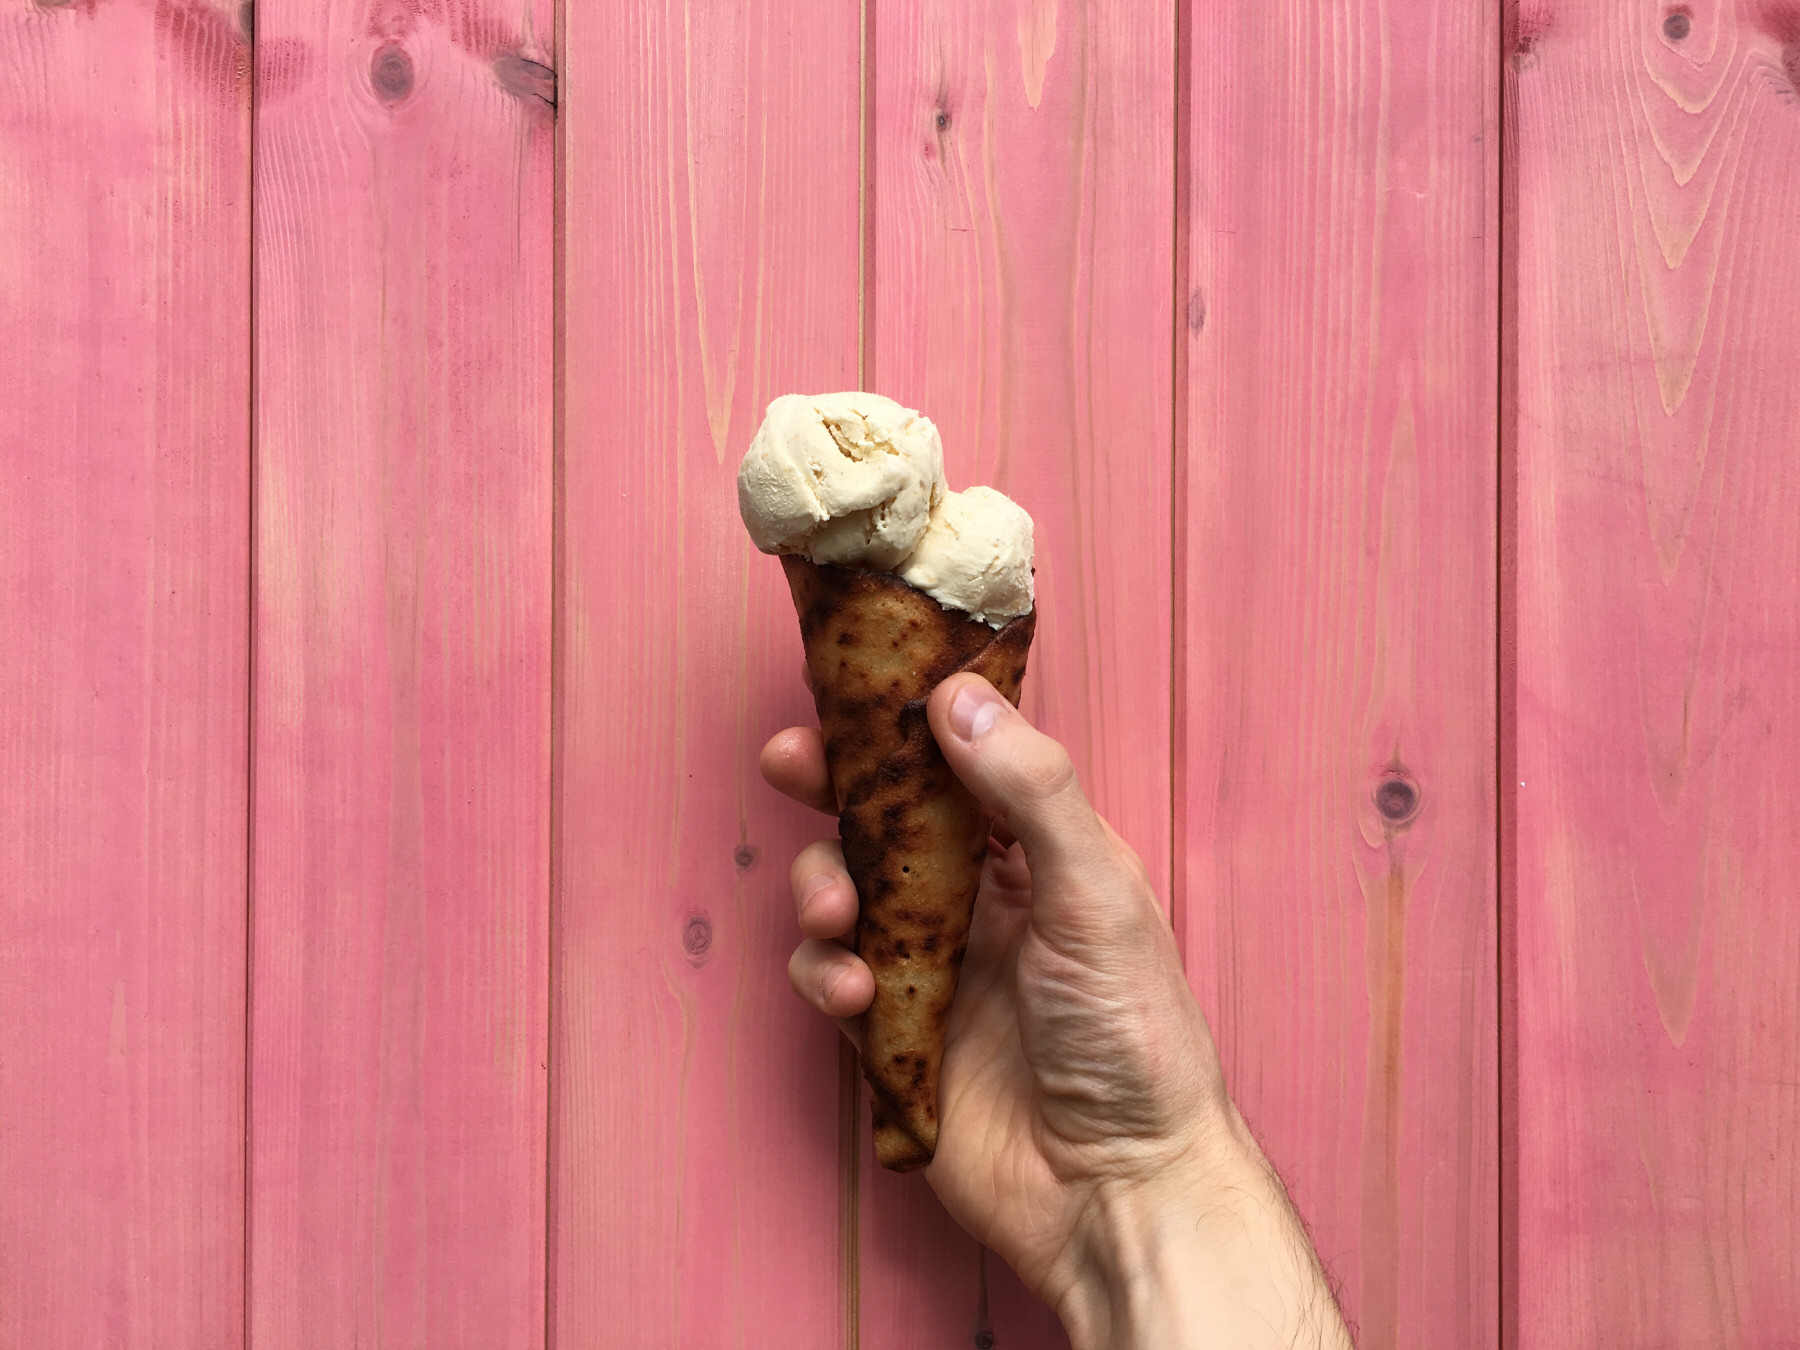
It’s… summer? It is summer, right? It’s hard to tell – I can’t see past the torrential rain and blackened skies. Let’s assume my calendar is correct and it is in fact actually summertime. Yay! We all scream for ice cream! And what could be better than some deliciously soft, rich ice-cream served in a crisp homemade cone?
So without further ado, set your freezer to COLD PLEASE and whip yourself up some super-simple creamy goodness! LET’S GET GINGERY WITH IT
Method
For the ice cream
First thing’s first: before getting started, prepare all of your ingredients! You’re effectively making custard from scratch, and you don’t want it to be boiling over while you’re still chopping your stem ginger. So make sure everything is ready to go.
Add 2 tbsps water to 45 g IMO powder and stir thoroughly until you have a thick, smooth syrup. If it still has some lumps in, heat it in the microwave for 5-10 seconds and stir thoroughly again – all the lumps should disappear.
While stirring the cream, add the IMO syrup you just made, along with 0.125 tsp stevia , 0.5 tsp vanilla , 1 tsp ground ginger and 1 tbsp glycerin and stir until all ingredients are combined. The glycerin is entirely optional, however it can make your ice-cream a lot easier to scoop out once it has set.
In a small bowl, whisk together 2 egg yolks(s) (save the egg whites – you’ll need them for the cones). Once the cream mixture just starts to boil, turn the heat down a little, then slowly pour in egg yolks, stirring constantly as you do. At this point, you want to be stirring constantly with a wooden spoon or spatula for at least 5 more minutes until the mixture starts to thicken and coats the back of of your spoon.
Remove the custard from the heat and pour into a cool bowl to help it cool down more quickly – but keep stirring it every minute or so to stop a thick skin from forming on top. Assuming you have already finely chopped your stem ginger, add this to your custard mixture and stir in. Leave to cool down for 5 to 10 minutes, but try to ensure a skin doesn’t form in the meantime.
Once the custard is no longer hot to the touch, add to a freezer-safe container (I use a sealed 2-pint tupperware tub) and put in the freezer. Take it out every 20 minutes or so and stir, scraping the more solidly-frozen bits from the edges and combining them into the mixture. This will ensure a smooth consistency to your ice cream. After a couple of hours, your ice-cream should be done!
For the cones
You’re effectively going to be making crispy rolled-up pancakes; the method is very easy, but it does take a little bit of time. And prepare to scorch the tips of your fingers for that perfect cone roll. Apparently you can get ice-cream-cone makers – metal cones or plastic ‘moulds’, but why bother? I just made a cone with some A4 card, then stuffed it with tin foil to make it more robust and wrapped it in tin-foil to stop it from getting soggy. Look!
Start by making some IMO syrup by mixing 50 g IMO powder with 2 tbsps water into a smooth paste, then mixing together with 2 egg whites(s) , 25 g butter, melted , 50 g xylitol , 0.5 tsp vanilla and 1 pinch salt .
Next, add 50 g plain flour and 50 g oat flour to the mixture (you can easily make your own by blitzing rolled oats in a small blender like the tiny little Ninja Master Prep ) and mix together until you have a nice thick batter.
Place a medium-sized pan or skillet on the hob and spray with a little oil (something like the 1-Cal Coconut Oil Spray is perfect), then turn the hob on to a medium heat and pour two tablespoons of batter into the pan, swirling until you get it as wide and thin as possible. The thinner you can make it, the crispier your cone will be.
Cook for 4-5 minutes, gently prising at the edges to make sure it doesn’t stick, then flip over and cook the other side for around 2 minutes, making sure that it doesn’t burn.
Have a small dishtowel ready, and scoop your pancake onto it. Now place your cone on top and carefully (but quickly) wrap your pancake around the cone, trying to make the roll as tight as possible. You may find it tricky to keep the roll very tight with the dishtowel, which is why I temporarily sacrificed my fingertips to a scorching. Once you’ve rolled your pancake as tightly as you can, push the cone down a little into it (this will help tighten the shape), and then hold it in place and – if you can – try to very tightly fold and pinch the very bottom of the pancake. Now hold that position for at least 4-5 minutes while the pancake cools a little.
Carefully open your hand, and you should find that the pancake has retained its shape. At this point, I would recommend snapping a wooden toothpick in half and gently pushing the halves through the fold in the pancake – one near the top, and another near the bottom – to help keep its shape.
You’ll want to repeat this process until you have used up all your batter, BUT: you will have a much better time starting with a cold pan each time. As it can take a while to cool naturally and I am super-impatient, I ran it under a cold tap each time, drying off the surface before adding more oil and starting again.
Hide Method
And with that, you are done! Delicious, sugar-free ice-cream with a bite of ginger, all wrapped up in a homemade sugar-free cone. Now go outside and enjoy it OH GOD QUICKLY COME BACK INSIDE THE RAIN IS TORRENTIAL.
Nutritional Info
Total Carbohydrates
41.5g
*Typical values per serving.
Hide Nutritional Info


