This was the first recipe I ever made dough for, and I discovered a surprising thing about myself: I apparently love making dough. Something about kneading it with my hands, thinking about nothing in particular while some Motown plays in the background… it just totally works for me.
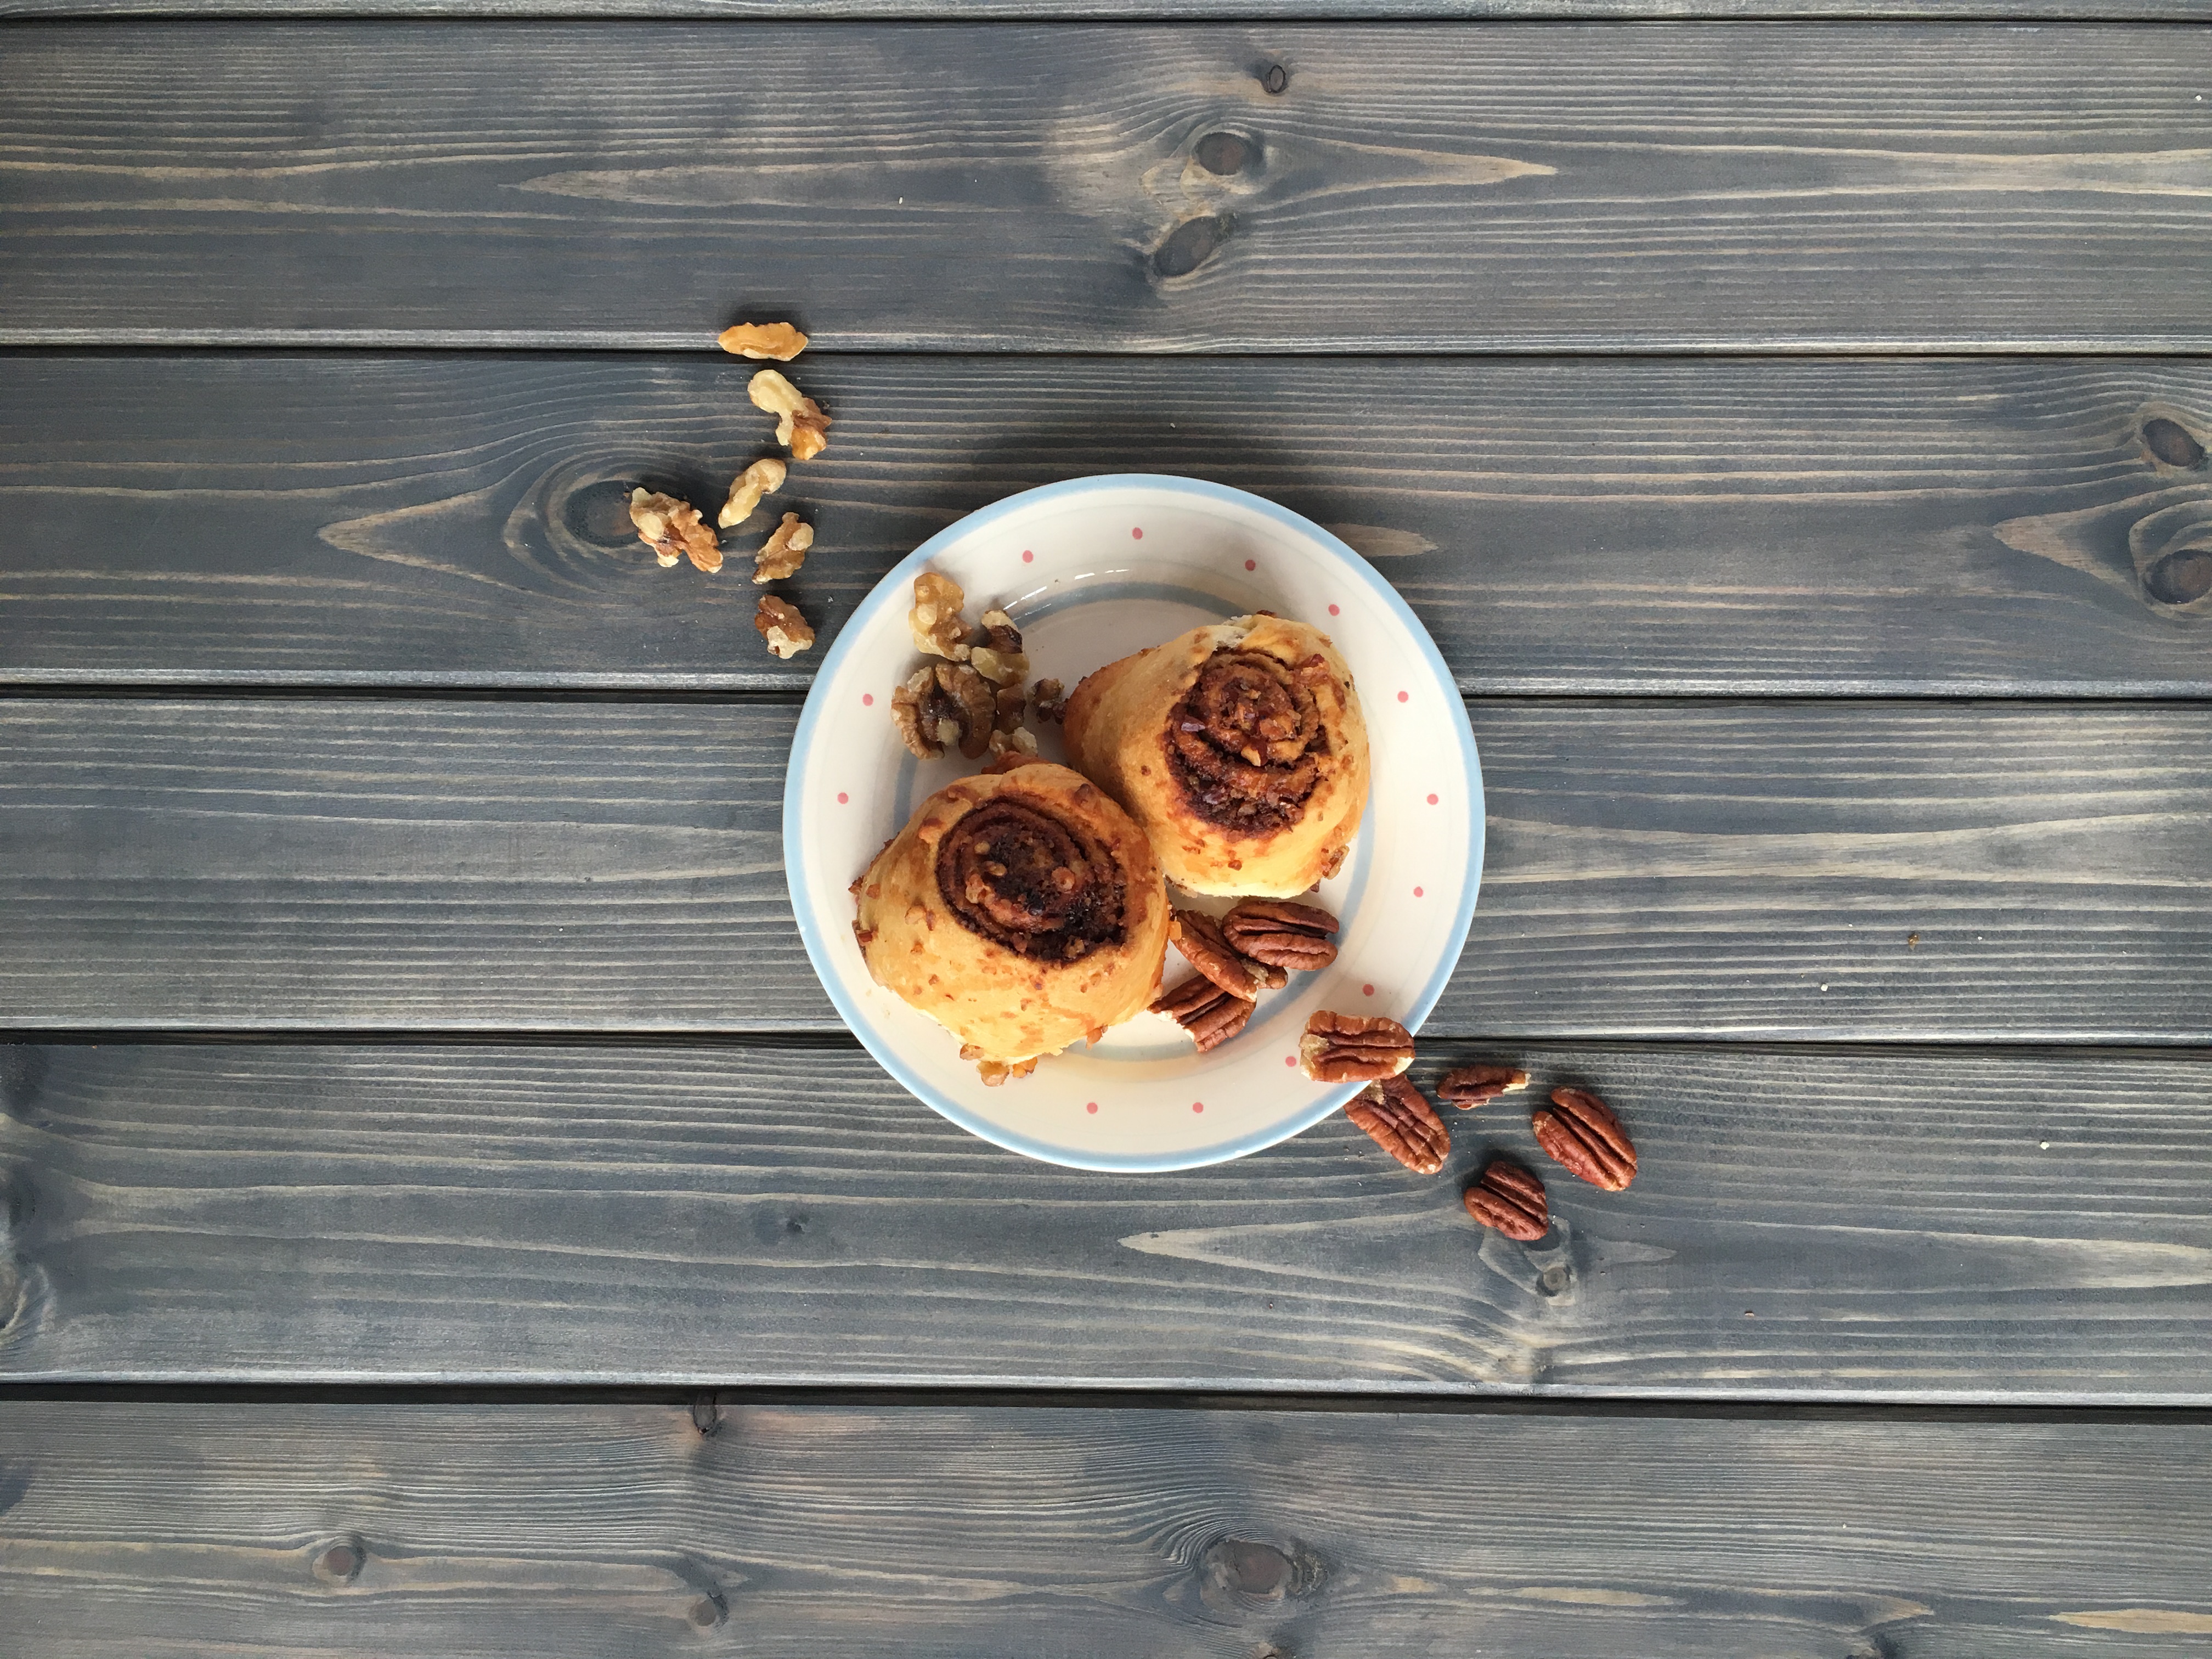
I also take pride in this being my most frequently-requested bake, and the one I’m congratulated on most often. In fact, I’ve had at least one person flat-out refuse to believe these swirls (or rolls, or buns; whatever you want to call ’em) are totally free from sugar . And that’s exactly the reaction we want! Natural & healthy, yet deliciously, deceptively decadent enough that you could sell them at Cinnabon™.
These do take a little while longer to prepare, but once your dough is kneaded and proved, the rest is a breeze.
So, time to get your swirl on!
Method
For the dough
Add the 225 g plain white flour (no need to sift), 0.5 tsp salt and 1 pinch stevia into a medium-sized bowl and give it a quick stir with your hand. Chop the 45 g soft butter into small pieces and drop into the bowl, then rub together with your fingers until it’s the texture of breadcrumbs. PRO TIP: Grab rough handfuls and grind the mixture into your palms with your fingers. The idea is to coat the flour mixture with fat.
Crack 1 large egg(s) into a small bowl or ramekin and whisk briefly. Make a shallow well in the flour mixture and pour in the egg. Then add the 3.5 g dried yeast – yeast usually comes in 7g sachets, so the 3.5g is half of a sachet. Pour over the 75 ml unsweetened almond milk .
With a wooden spoon, lightly fold the flour mixture into the wet ingredients, mixing for about a minute until it comes together in a ball of dough. If you find it’s too dry, first make sure you have mixed it thoroughly. If it’s still too dry, add 1 teaspoon of almond milk at a time and mix in thoroughly until it’s very slightly tacky, but not wet. Work it light with your hands until it comes away clean from your fingers.
If you’re lucky enough to have a stand mixer, throw in your ball of dough and knead with a dough hook for 6-8 minutes on low speed. Personally, I prefer to knead by hand – it’s much more soothing. To do this, lightly dust your kitchen surface with flour and shape your ball of dough into a rough oblong. Holding one end down with one hand, push the heel of your other hand into the dough and stretch it out as far as you can reach – the idea is to stretch the glutens in the dough. Pull your hand back, rolling/peeling the dough as you do, folding it back on itself. Then pat it softly into a horizontal oblong shape (ends facing 3 o’clock and 9 o’clock), fold it in half and rotate 90 degrees, then repeat. Do this for 15-20 minutes. Maybe listen to an audio book while you do.
Once your dough is kneaded, lightly grease a bowl with butter or vegetable/sunflower oil, or use a coconut oil spray, and drop your ball of dough in. Lightly grease a sheet of cling film and cover the bowl. Leave for 1-2 hours, or until the dough has at least doubled in size.
For the filling
Add the 25 g pecans , 25 g walnuts , 40 g xylitol and 1.5 tsp ground cinnamon into a small blender or chopper and blitz together until the nuts are finely ground and the mixture resembles coarse brown sugar.
Lightly dust your kitchen surface with plain flour and take the dough out of the bowl. Then knock it back – punch/knock the air out of the dough, flattening it into a square shape. Pick it up at the corners and flip over, repeating this at least a couple of times.
Once your dough is relatively flat, use a dough cutter or large palette knife to box it into a square, slightly longer on one side (so, technically a rectangle). Lightly dust a rolling pin with flour and roll it out evenly, alternating front-to-back and side-to-side until the dough is evenly rolled out: about 5mm thick and around 30cm / 12″ square, but slightly longer on one side.
With your 40 g melted butter in a small bowl or ramekin, use a pastry brush (a silicon one, if you have one) to evenly spread a small amount of the butter onto the pastry.
Tip the chopped-nuts filling onto your square of dough and spread it evenly over your dough, right up to the left & right edge, and leaving a gap of around 1cm on the top and bottom edge. You can use the back of a spoon or a palette knife to spread it, but I find it just as easy to use my fingers to make sure it’s even.
Mix together the 4 tsps sugar-free maple syrup and 2 tsps water in a small glass jug our bowl – it should be thin enough to pour easily. Then pour in criss-crossing diagonal lines over the filling you’ve just spread onto the dough.
Take the slightly shorter edge of the dough and carefully start to roll it up, making sure it’s a reasonably tight roll. Once you’ve rolled it about a quarter of the way, you should be able to easily roll up the rest of it gently with your palms. Once it’s completely rolled up, pinch the loose edge into the dough to seal up the roll, then lightly box in the ends of the roll with your palms, so that the roll resembles a long, slim Swiss roll.
For the topping
Preheat the oven to 160°c fan (180°c non-fan, 350°f)
Using a pastry brush, lightly grease the bottom and sides of a medium-sized baking tin or cake tin with a small amount of the melted butter.
Add 60 ml sugar-free maple syrup to 40 g melted butter and mix together. If you don’t have any sugar-free maple syrup, you can use the same quantity of rice malt syrup instead, in which case you may want to thin it out with a couple of teaspoons of water – you can also add half a teaspoon of maple syrup flavouring to this for a perfect maple syrup substitute.
Throw the 10 g pecans and 10 g walnuts into a small blender or chopper and blitz for a couple of seconds. Alternatively you can roughly chop them into tiny pieces with a knife.
Pour HALF of the syrup-butter mix onto the bottom of your tin, picking it up and swirling around to make sure it’s evenly coated. Then sprinkle half of your chopped nuts evenly over the syrup-butter mix in the tin.
Divide your doughy Swiss roll into 8 pieces with a dough cutter or sharp knife. The easiest way is to score it right down the middle; then score each half right down the middle; then score each quarter right down the middle. Now you can cut your 8 perfectly-divided slices.
Put each slice into the tin, swirl facing upwards (it doesn’t matter which side). Using a brush, lightly paint the sides of each roll with the syrup-butter mix, and then evenly pour any remaining mixture over the swirls. Sprinkle with the remaining chopped nuts, trying to cover the top of each swirl evenly.
Place on the middle shelf in the oven for 25 minutes. Check after 20 minutes, and if they look like they need it, turn the tin 180 degrees and put back in the oven for 5 minutes.
Take out of the oven and leave to cook before carefully pulling the swirls apart (as they most likely will have squished up in the oven) and transferring to a cooling rack, or just directly to your mouth. Keep in a cool, dry tin and they should keep for 3-5 days.
Hide Method
Nutritional Info
Total Carbohydrates
22.3g
*Typical values per serving.
Hide Nutritional Info


